

The fastest practical path is to use image-to-code tools for the first draft, then let a human clean up layout, naming, states, and accessibility. These tools can turn a UI screenshot into HTML, CSS, React, Tailwind, Flutter, or similar code in minutes. That matters because AI coding help is already saving time; in one GitHub study, developers finished a coding task 55% faster with AI assistance [source: GitHub]. Screenshot-to-code is not magic, but it is a useful shortcut when used with clear limits.
TLDR: Image-to-code tools work best when you need a quick UI prototype, a landing page mockup, or a reusable component starter. For example, a product team can upload a dashboard screenshot and get a React layout in about 2 to 5 minutes instead of blocking a developer for half a day. Expect around 60% to 80% of the visual structure to be useful on simple screens, but less on complex apps. You still need to review spacing, responsive behavior, forms, and accessibility.

1. Use AI screenshot-to-code generators
The most direct method is simple. Upload a screenshot, choose a target format, and ask the tool to generate the interface. Many tools can output HTML and CSS. Some can also create React components, Tailwind classes, or Vue layouts.
This is great for:
- Landing page sections
- Pricing tables
- Admin dashboards
- Login screens
- Marketing cards and hero blocks
The catch is that the code often looks clean at first, then gets annoying when you edit it. You may find five nested wrappers where two would do. You may also get random class names like container2 or frame blue copy. Honestly, renaming that stuff can take 30 seconds more per component than writing names properly from the start.
2. Convert screenshots into editable design files first
Sometimes it is smarter to go screenshot to design, then design to code. Tools with visual recognition can detect text, buttons, cards, icons, and spacing. From there, you can rebuild the screen in a design tool and export cleaner code.
This method is slower, but the output can be better. It gives designers a chance to fix blurry text, align messy spacing, and define reusable components before code generation starts.
Best fit: rebuilding an existing app screen, updating an old interface, or copying a competitor layout for internal study without reusing their assets.
3. Use design-to-code plugins after tracing the screenshot
If your team already works in Figma or a similar design tool, this route can feel more controlled. You place the screenshot as a background, recreate the UI with real layers, then use a plugin to export code.
This works well because the screenshot becomes a guide, not the source of truth. You decide which items are buttons, inputs, cards, menus, and headings. That means the generated code has more useful structure.
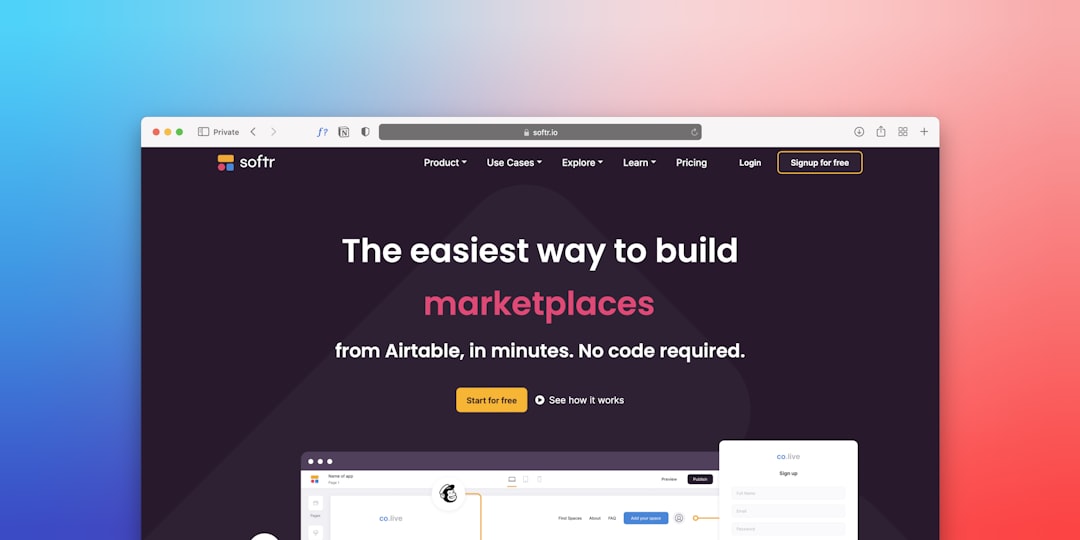
Use this approach when the interface needs to ship, not just impress someone in a demo. It is also helpful for teams that care about design systems. You can map screenshot elements to existing tokens, such as spacing, colors, type sizes, and button variants.
4. Ask a multimodal coding assistant to recreate the UI
Another option is to upload the screenshot to an AI coding assistant and write a clear prompt. This method gives you more control than a one-click converter.
A good prompt might say:
“Recreate this screenshot as a responsive React component using Tailwind CSS. Use semantic HTML. Make the sidebar fixed on desktop and collapsible on mobile. Do not use absolute positioning unless needed.”
That last sentence matters. Many generated interfaces rely too much on absolute positioning. It looks fine at one screen size, then breaks like a cheap chair on mobile.
Ask for code in parts:
- First, generate the layout.
- Then add responsive styles.
- Then add accessible labels.
- Then refactor into components.
This step-by-step request often produces better code than asking for the whole app at once.
5. Use OCR and manual component mapping
This is the least flashy method, but it is often the most reliable for serious work. OCR tools extract the text from the screenshot. Then a developer rebuilds the interface using an existing component library.
For example, you might pull all labels from a banking app screenshot, then rebuild the view with your approved buttons, cards, inputs, and table components. This avoids messy generated markup and keeps your codebase consistent.
It drives me crazy when a tool turns one simple form into 400 lines of fragile layout code. Manual mapping avoids that pain. It takes longer at the start, but it saves time when the screen needs validation, error states, loading states, and real data.
What these tools usually get right
- Visual structure: columns, rows, cards, headers, and footers.
- Basic styling: colors, borders, shadows, and font sizes.
- Spacing guesses: margins and padding that are close enough for a draft.
- Static screens: pages with little interaction are easier to recreate.
What they still get wrong
- Accessibility: missing labels, poor heading order, and weak keyboard support.
- Responsive behavior: desktop screenshots do not explain mobile layouts.
- Component logic: tools do not know your state rules or API needs.
- Code quality: output may be bulky, repeated, or hard to maintain.

Quick workflow for better results
- Use a clean, high-resolution screenshot.
- Crop out browser chrome and extra whitespace.
- Tell the tool your framework and styling system.
- Request semantic HTML and accessible form labels.
- Test the result at mobile, tablet, and desktop widths.
- Replace fake content with real components and data.
Image-to-code tools are best treated as junior assistants, not senior engineers. They can move pixels into place fast. They can also create quiet problems that show up later. Use them for speed, but keep a human in charge of structure, behavior, and polish.

