

Highguard can refuse to launch when Secure Boot or TPM 2.0 is not active on your PC. This usually appears as a Secure Boot, TPM, or machine integrity error.
The issue is tied to Highguard’s PC security requirements. The official Highguard help page says players may need BIOS changes, firmware updates, or supported hardware to enable Secure Boot and TPM 2.0.
Quick Answer
To fix Highguard’s Secure Boot error, check msinfo32 for BIOS Mode and Secure Boot State. Then check tpm.msc for TPM 2.0. If either feature is off, enable Secure Boot and TPM in BIOS. If both are on but Highguard still fails, update BIOS carefully.
Why Does Highguard Show a Secure Boot Error?
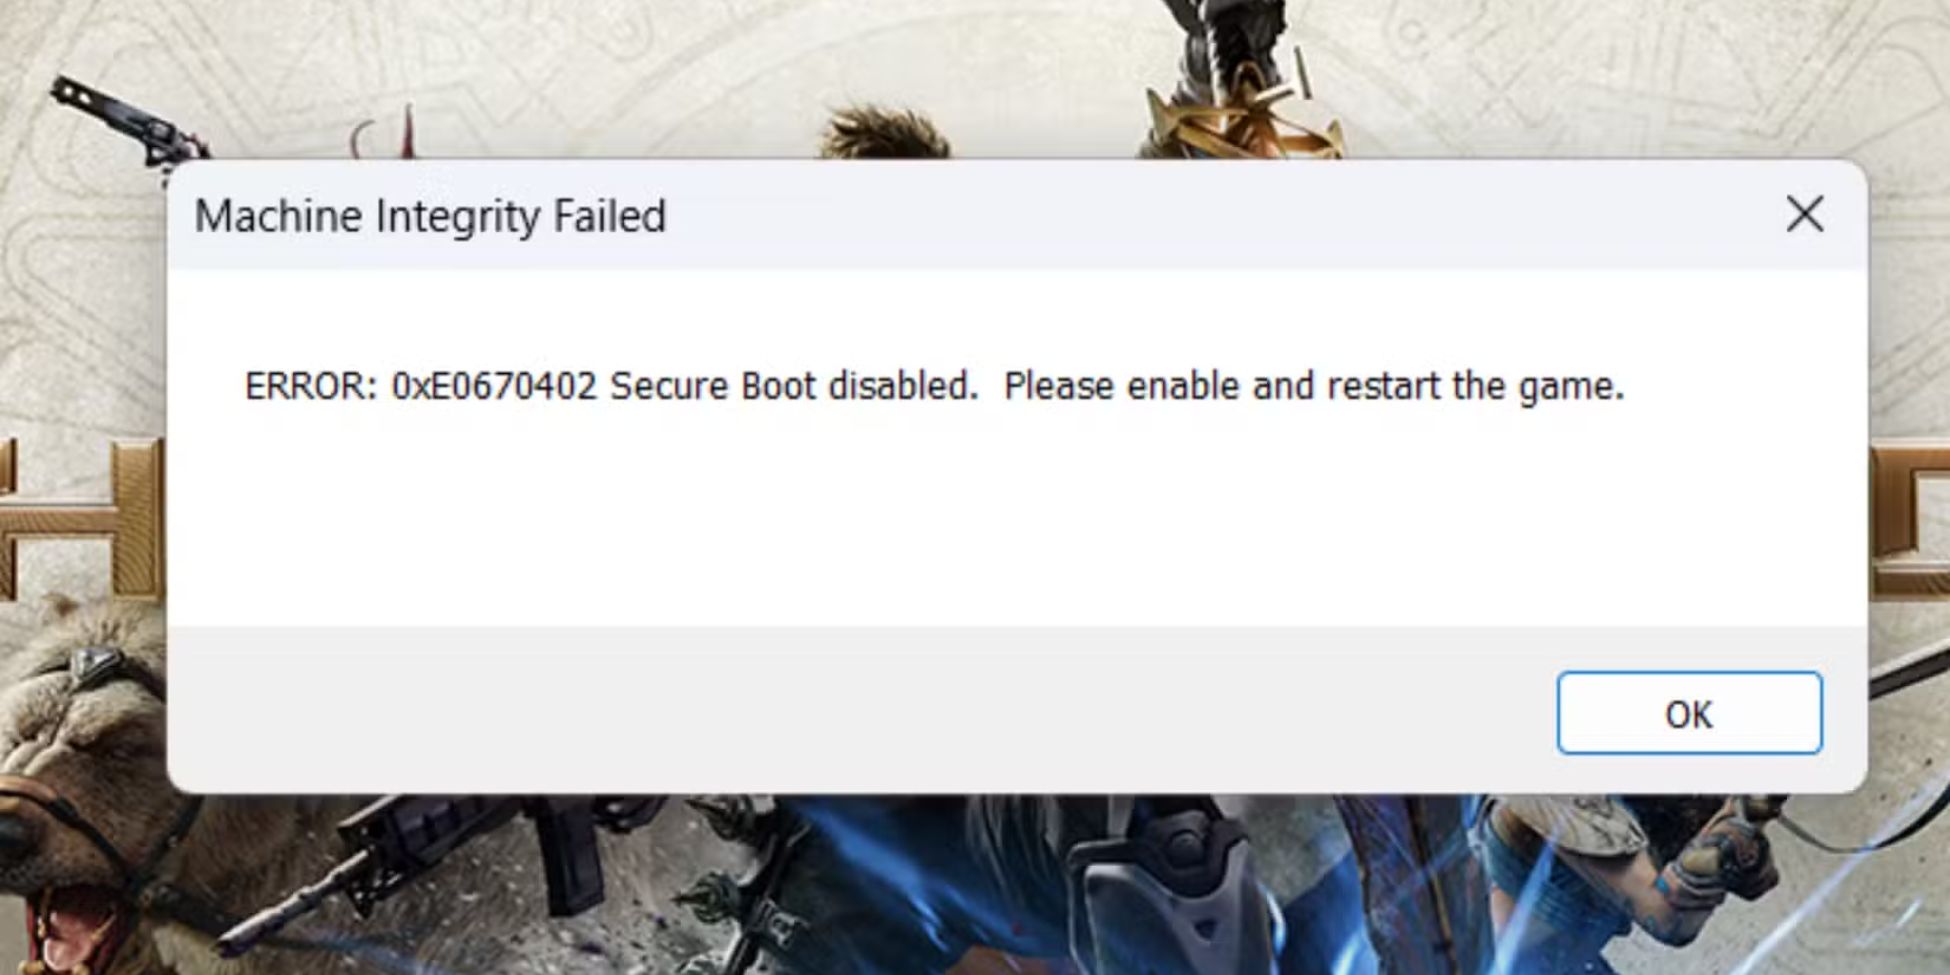

Highguard shows a Secure Boot error when its anti-cheat check does not see the required Windows security setup. The game expects Secure Boot, TPM 2.0, and Easy Anti-Cheat support on PC.
Secure Boot helps Windows start with trusted boot software. TPM 2.0 helps store security keys. Highguard uses these checks to reduce cheating and protect match integrity.
This does not always mean your PC is broken. Sometimes Secure Boot is enabled in BIOS, but Windows still reports it as off. That usually means another boot setting is blocking it.
Check Your PC Before Changing BIOS Settings
Do not change BIOS settings blindly. First, check what Windows already sees. This helps you avoid changing the wrong setting.
Check Secure Boot State in Windows
Use System Information to check your current boot setup.
Follow these steps:
- Press Windows + R
- Type msinfo32
- Press Enter
- Find BIOS Mode
- Find Secure Boot State
If BIOS Mode says UEFI, your system is on the right boot mode. If Secure Boot State says On, Secure Boot is already active in Windows.
If BIOS Mode says Legacy, Secure Boot will not work correctly. Secure Boot needs UEFI mode, not Legacy BIOS.
Check TPM 2.0 Status
TPM can be disabled even when Secure Boot is on. So check it separately before launching Highguard again.
Follow these steps:
- Press Windows + R
- Type tpm.msc
- Press Enter
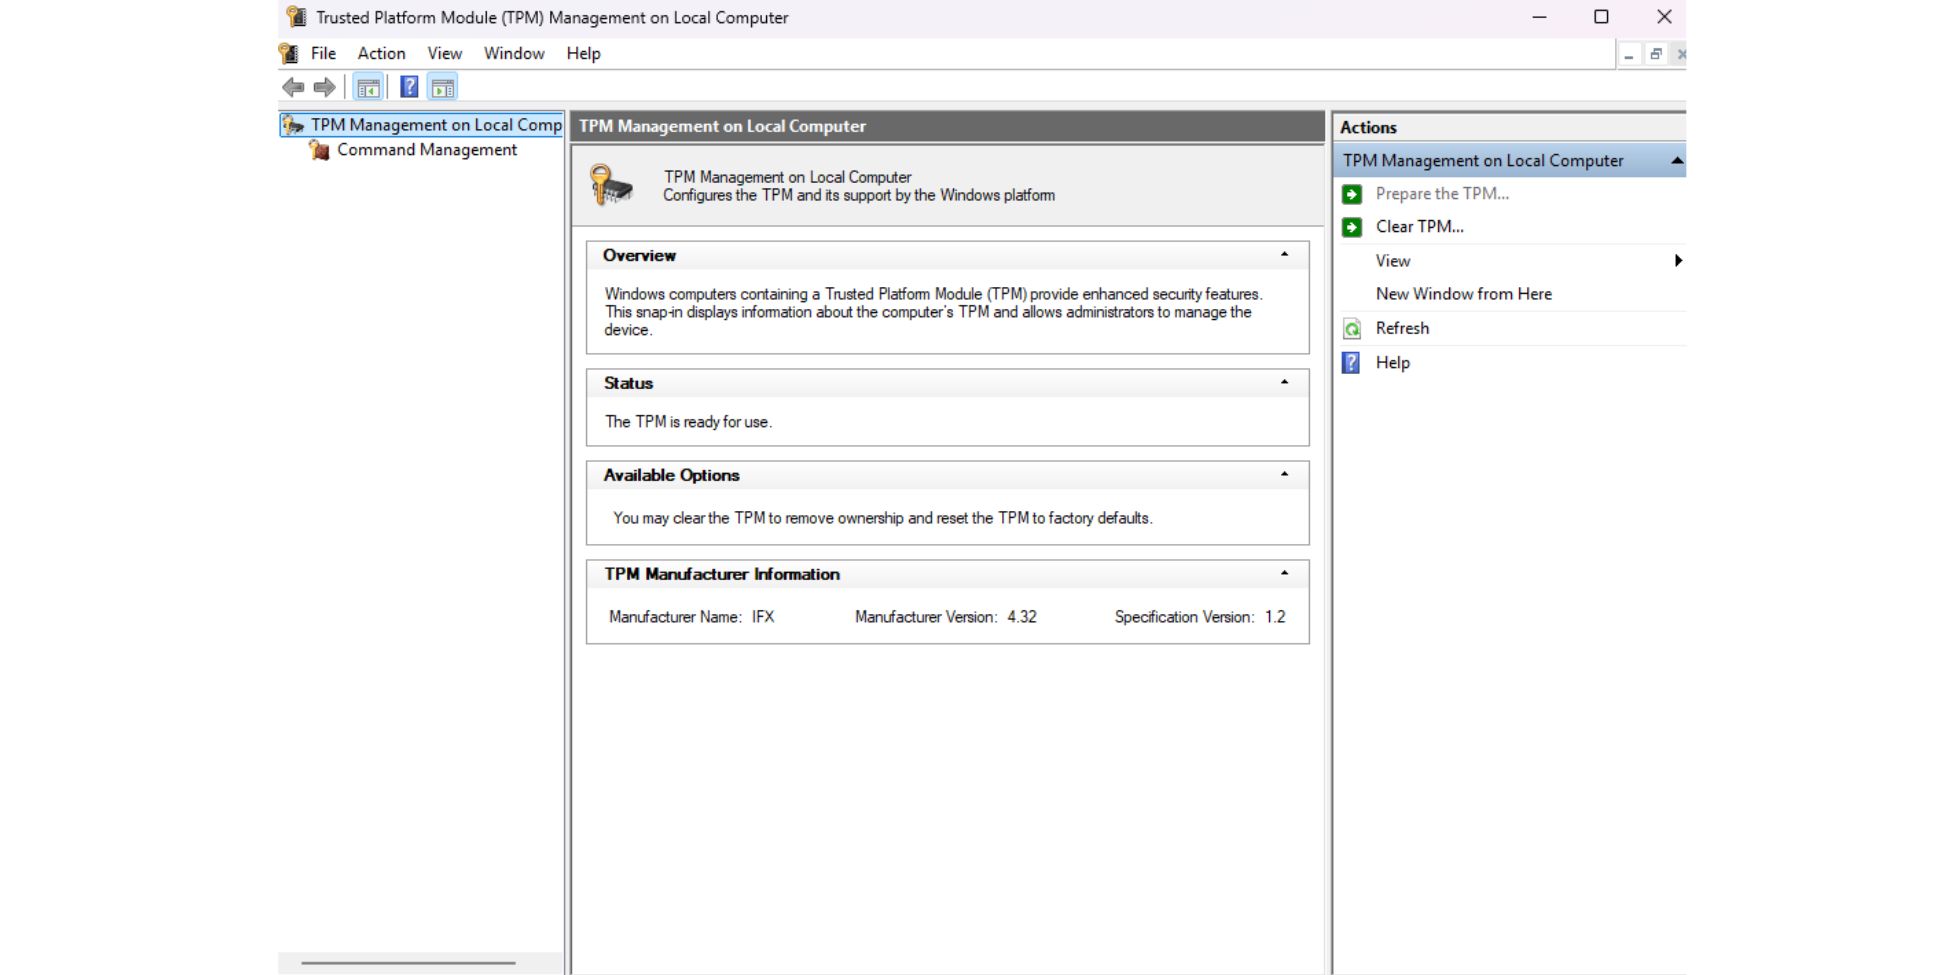
- Check the Status section
- Look for “The TPM is ready for use”
- Check Specification Version for 2.0
If TPM is missing, disabled, or below 2.0, Highguard may still fail. You will need to enable TPM from BIOS if your motherboard supports it.
Enable Secure Boot for Highguard in BIOS
Secure Boot must usually be enabled from BIOS or UEFI firmware settings. The exact menu name changes by motherboard brand.
Before you start, save your work and close all apps. Then restart your PC and enter BIOS. Most systems use Delete, F2, F10, or F12 during startup.
Basic steps usually look like this:
- Restart your PC
- Enter BIOS or UEFI settings
- Open the Boot or Security tab
- Find Secure Boot
- Set Secure Boot to Enabled
- Set OS Type to Windows UEFI Mode if available
- Install or restore default Secure Boot keys if needed
- Save changes and restart
After Windows starts, open msinfo32 again. Confirm that Secure Boot State now shows On.
If it still shows off, check CSM or Legacy Boot. Those settings can stop Secure Boot from becoming active.
Enable TPM 2.0 for Highguard
TPM 2.0 may use a different name depending on your CPU and motherboard. This confuses many players because they search for “TPM” and cannot find it.
| Platform | BIOS Name You May See |
|---|---|
| Intel | PTT or Intel Platform Trust Technology |
| AMD | fTPM or AMD Firmware TPM |
| Some boards | Security Device Support |
| Some laptops | TPM Device or Trusted Computing |
Enable the setting, save BIOS changes, and restart Windows. Then open tpm.msc again to confirm TPM is ready.
If TPM 2.0 does not appear, your BIOS may need an update. Older hardware may also lack support.
How to Fix Secure Boot Enabled But Still Not Working
This is the annoying part. BIOS may say Secure Boot is enabled, but Windows or Highguard may still reject it.
That usually happens because Secure Boot is not fully active. It may also happen if your PC uses Legacy Boot, CSM, missing Secure Boot keys, or an outdated BIOS.
Check these items:
- Open msinfo32 and confirm BIOS Mode is UEFI
- Confirm Secure Boot State is On
- Enter BIOS and disable CSM or Legacy Boot
- Set boot mode to UEFI Only
- Restore factory Secure Boot keys
- Save changes and restart
- Launch Highguard again
Some systems show Secure Boot as enabled only after you install default keys. Look for options like Install Default Keys, Restore Factory Keys, or Reset Secure Boot Keys.
Check UEFI, GPT, and Legacy Boot Problems
Secure Boot works with UEFI. If Windows was installed in Legacy BIOS mode, your disk may use MBR instead of GPT.
You can check this in Windows Disk Management.
Follow these steps:
- Right-click Start
- Select Disk Management
- Right-click your Windows disk
- Click Properties
- Open the Volumes tab
- Check Partition style
If it says GUID Partition Table (GPT), that is good. If it says Master Boot Record (MBR), Secure Boot may not work until the system is converted to GPT.
Be careful here. Converting MBR to GPT changes boot setup. Back up your data before using tools like mbr2gpt.
Use this only if you know what you are doing, or follow your motherboard and Windows documentation. A wrong boot change can stop Windows from starting.
Update BIOS If Highguard Still Fails
Highguard’s help page says some users may need a firmware flash, especially on older or self-built PCs. It also notes that unsupported hardware may not meet the requirements.
A BIOS update can help when Secure Boot and TPM 2.0 are enabled, but the game still fails. But this step needs care because a failed BIOS update can cause serious boot problems.
Before updating BIOS:
- Check your exact motherboard or laptop model
- Download BIOS only from the official vendor website
- Keep the PC plugged into power
- Read the vendor update guide
- Do not interrupt the update
- Restart and recheck msinfo32 and tpm.msc
Only update BIOS if the safer steps did not fix the issue.
Highguard Secure Boot Error vs Other Launch Errors
Not every Highguard launch problem comes from Secure Boot. Check the message before changing firmware settings.
| Error Type | What It Usually Means | Best First Fix |
|---|---|---|
| Secure Boot Disabled | Secure Boot is off or not active | Check msinfo32 and BIOS |
| TPM 2.0 Not Detected | TPM is off or unsupported | Check tpm.msc and BIOS |
| Easy Anti-Cheat error | Anti-cheat service failed | Repair EAC or verify files |
| Game file error | Files are missing or corrupt | Verify game files in Steam |
| Unsupported hardware | PC lacks required features | Check motherboard and CPU support |
This saves time. If the message does not mention Secure Boot or TPM, start with game files or Easy Anti-Cheat first.
What If You Use Linux or Unsupported Hardware?
Highguard’s Secure Boot and anti-cheat setup can limit support for Linux and older PCs. PC Gamer reported that Highguard requires Secure Boot, TPM 2.0, and Easy Anti-Cheat, which can leave Linux and older hardware users out.
If your PC does not support TPM 2.0, there may not be a safe software-only fix. If you use Linux, the Windows anti-cheat requirement may also block normal play.
Avoid risky bypass tools. They can break the game rules, trigger bans, or put your system at risk.
Final Thoughts
Highguard’s Secure Boot nightmare usually comes down to three checks. Windows must use UEFI, Secure Boot must show as On, and TPM 2.0 must be ready.
Start with msinfo32 and tpm.msc. Then enable Secure Boot and TPM in BIOS only if needed. If everything looks correct but Highguard still fails, check CSM, Secure Boot keys, and BIOS firmware.
Have you fixed Highguard’s Secure Boot error on your PC? Leave a comment with your motherboard brand and what worked for you.