


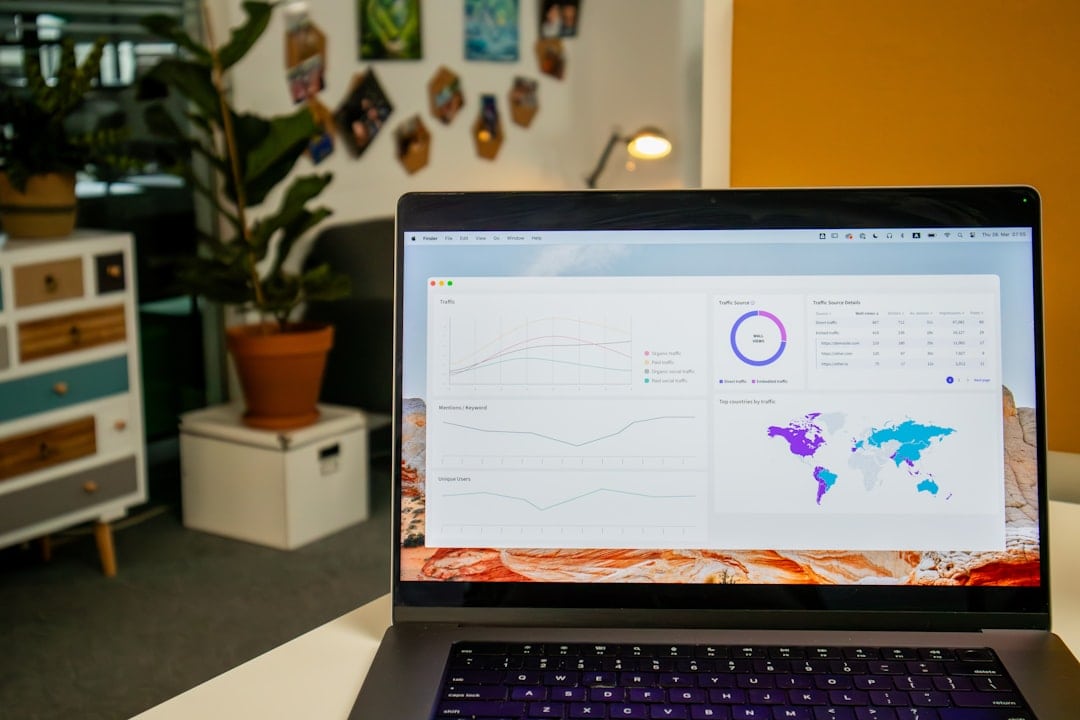
Understanding how visitors interact with your website is crucial for optimizing user experience and increasing conversions. One of the most effective tools for this is a heatmap. A heatmap visually represents user activity on a webpage, using colors to indicate where users click, move their cursor, or spend the most time.
Integrating a heatmap into your website isn’t as complicated as it may seem. In this article, we’ll explore why heatmaps are useful, the different types available, and how you can easily add one to your site using popular tools.
Why Use a Heatmap?
Heatmaps provide valuable insights into how users interact with your site. Here are some key benefits:
- Identify popular areas: See which sections of a page attract the most attention.
- Improve layout decisions: Adjust content placement for better engagement.
- Detect usability issues: Find dead zones where users don’t interact.
- Optimize call-to-action (CTA) elements: Ensure that buttons get clicked.
- Understand user behavior: Increase conversions by analyzing visitor patterns.
Types of Heatmaps
Before implementing a heatmap, it’s essential to understand the different types available:
- Click Heatmaps: Show where users click the most on a page.
- Scroll Heatmaps: Indicate how far users scroll before leaving.
- Mouse Movement Heatmaps: Track mouse movements, revealing areas of interest.
- Attention Heatmaps: Highlight parts of your page that receive the most focus.

How to Add a Heatmap to Your Website
There are several ways to add a heatmap, ranging from dedicated analytics software to built-in website tools. Follow these steps to get started:
1. Choose a Heatmap Tool
There are many heatmap tools available, both free and paid. Some popular options include:
- Hotjar: A feature-rich tool with click, scroll, and movement tracking.
- Crazy Egg: Offers heatmaps, session recordings, and A/B testing.
- Microsoft Clarity: A free tool with heatmaps and session replays.
- Lucky Orange: An all-in-one solution with visitor recordings.
Each tool comes with its own setup process, but the general approach is quite similar.
2. Sign Up and Get a Tracking Code
Once you’ve selected a heatmap provider, sign up for an account. Most services will generate a unique tracking code that needs to be added to your website.
3. Insert the Tracking Code into Your Website
To start collecting data, place the tracking code inside your website’s HTML. It’s usually recommended to insert it just before the closing </body> tag like this:
<script>
(function(h,o,t,j,a,r){
    h.hj=h.hj||function(){(h.hj.q=h.hj.q||[]).push(arguments)};
    h._hjSettings={hjid:YOUR_ID,hjsv:6};
    a=o.getElementsByTagName('head')[0];
    r=o.createElement('script');r.async=1;
    r.src=t+h._hjSettings.hjid+j+h._hjSettings.hjsv;
    a.appendChild(r);
})(window,document,'https://static.hotjar.com/c/hotjar-','.js?sv=');
</script>
Replace YOUR_ID with the ID provided by your chosen heatmap tool.
4. Configure Your First Heatmap
Once the tracking code is live, log in to your heatmap tool’s dashboard and set up your first heatmap by selecting the page you want to track. Many tools allow you to:
- Choose specific pages to monitor.
- Enable different heatmap types (click, scroll, movement).
- Set tracking conditions, such as user device type.
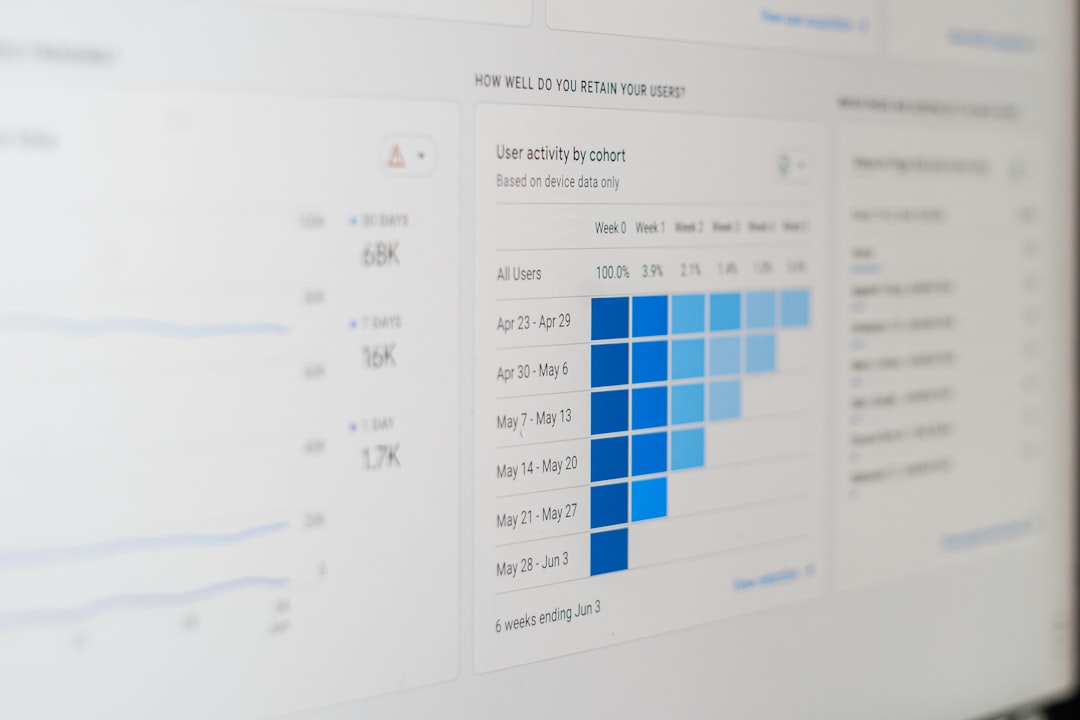
5. Analyze the Data
After the heatmap has collected sufficient data, review the results in your tool’s dashboard. Look for patterns and areas where user interaction is high or lacking. Based on your findings, make changes to improve user experience, such as:
- Rearranging content or CTAs to higher engagement areas.
- Optimizing navigation menus to reduce bounce rates.
- Fixing sections where users seem to get confused.
Best Practices for Using Heatmaps
To make the most out of your heatmap data, follow these best practices:
- Use heatmaps alongside other analytics tools: Combine them with Google Analytics for deeper insights.
- Monitor pages that drive conversions: Focus on landing pages and product pages for the best results.
- Test different designs: If something isn’t working, experiment with changes.
- Filter results by device: User behavior may differ on mobile vs. desktop.
Heatmaps offer a visually intuitive way to understand user engagement and fine-tune your website accordingly. By integrating a heatmap tool and analyzing the data effectively, you can create a more user-friendly experience and maximize conversions.
Now that you know how to add a heatmap to your website, why not try it out and see where your visitors are clicking the most?