

Printing a picture may seem like a straightforward task, but ensuring high-quality results requires attention to detail. Whether the photo is meant for framing, scrapbooking, or professional presentation, knowing the right steps can make a significant difference in how the final image turns out. This article will guide you through the essentials of printing a picture, from choosing the right photo to selecting print settings and paper types.
1. Choose the Right Photo
Starting with a high-resolution image is crucial. Digital images should ideally be at least 300 DPI (dots per inch) if you’re aiming for photo-quality prints, especially for larger sizes. Lower resolution images may look fine on a screen but can appear pixelated or blurry when printed.

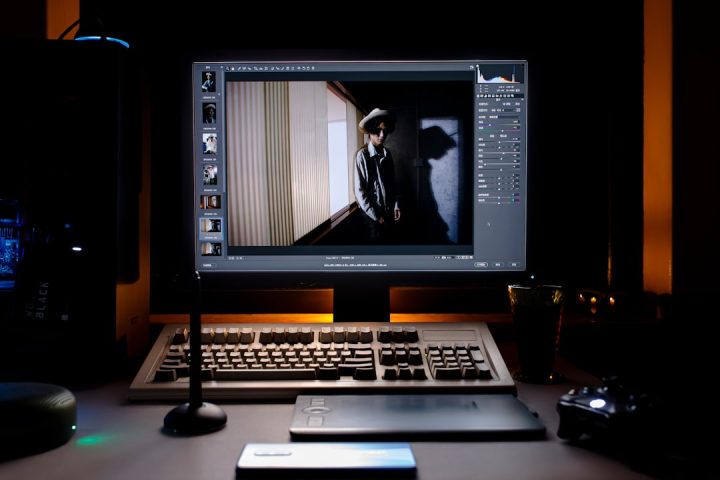
2. Edit and Prepare the Photo
Before printing, it’s often a good idea to edit the photo for brightness, contrast, and color correction. Popular photo editing tools include:
- Adobe Photoshop
- Lightroom
- GIMP (Free and open-source)
- Snapseed (Mobile devices)
Ensure the photo is cropped to the correct aspect ratio depending on your desired print size (e.g., 4×6, 5×7, or 8×10 inches). Use the editing tools to remove red-eye, adjust shadows/highlights, and enhance colors if necessary.
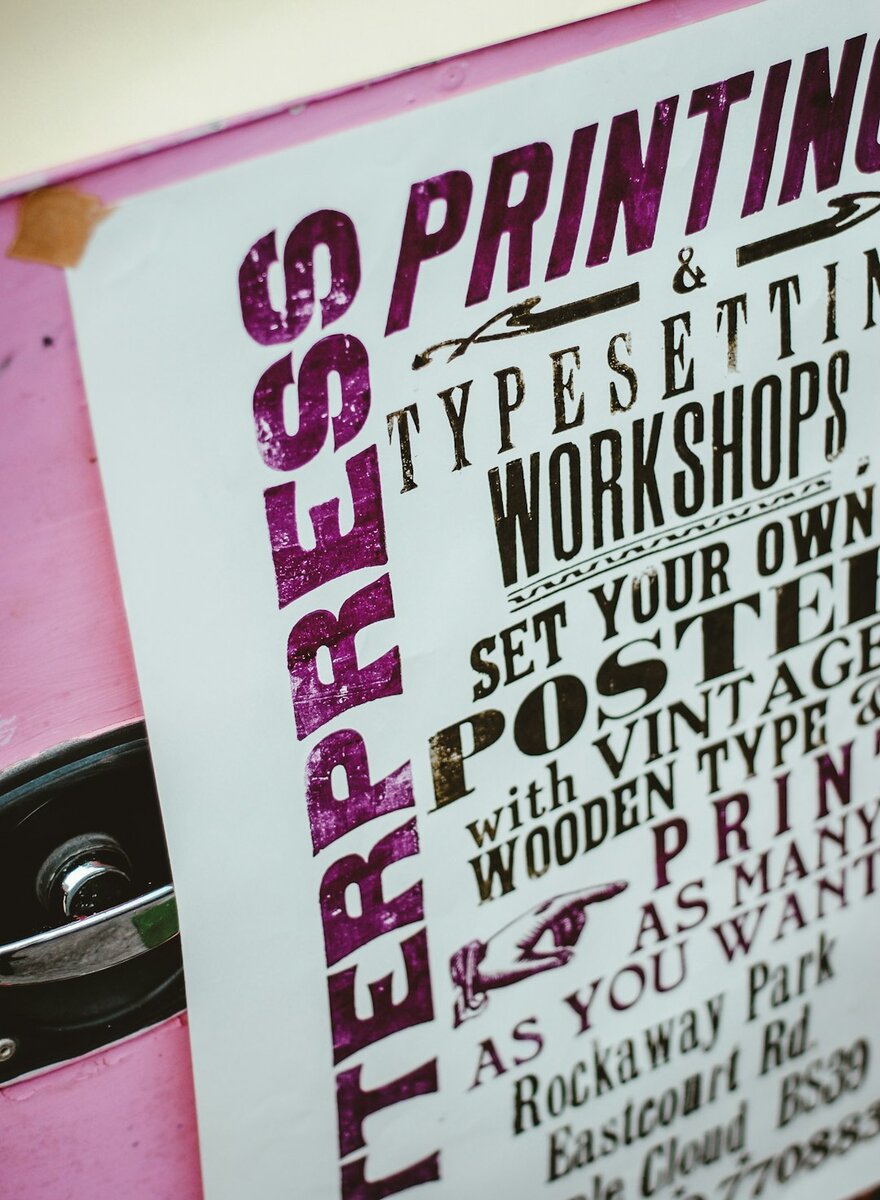
3. Choose the Right Printer and Paper
Using the right printer can make all the difference. While laser printers are good for documents, inkjet printers are typically better for photo printing. Some specialized printers are designed specifically for photo reproduction.
Equally important is the paper. Here are a few common types:
- Glossy: Shiny finish that enhances color and sharpness.
- Matte: Non-reflective, suitable for framing and artistic presentation.
- Luster/Satin: A balance between glossy and matte; ideal for professional use.
Make sure to use photo paper that matches your printer’s compatibility. Using regular office paper will not produce clear, vibrant results.

4. Adjust Printer Settings
Open the photo using an editing tool or photo viewer and select the print option. Within the print dialog box, you’ll usually find settings such as:
- Photo Quality: Choose “High” or “Best” for the best results.
- Paper Type: Select the actual paper type being used (glossy, matte, etc.).
- Photo Size: Match the dimensions you edited earlier in your photo application.
- Bleed/Cropping: Decide whether to print edge-to-edge or leave a margin.
Always preview your print before clicking the final print button. This helps ensure proper alignment and that no parts of the image are unexpectedly cropped.
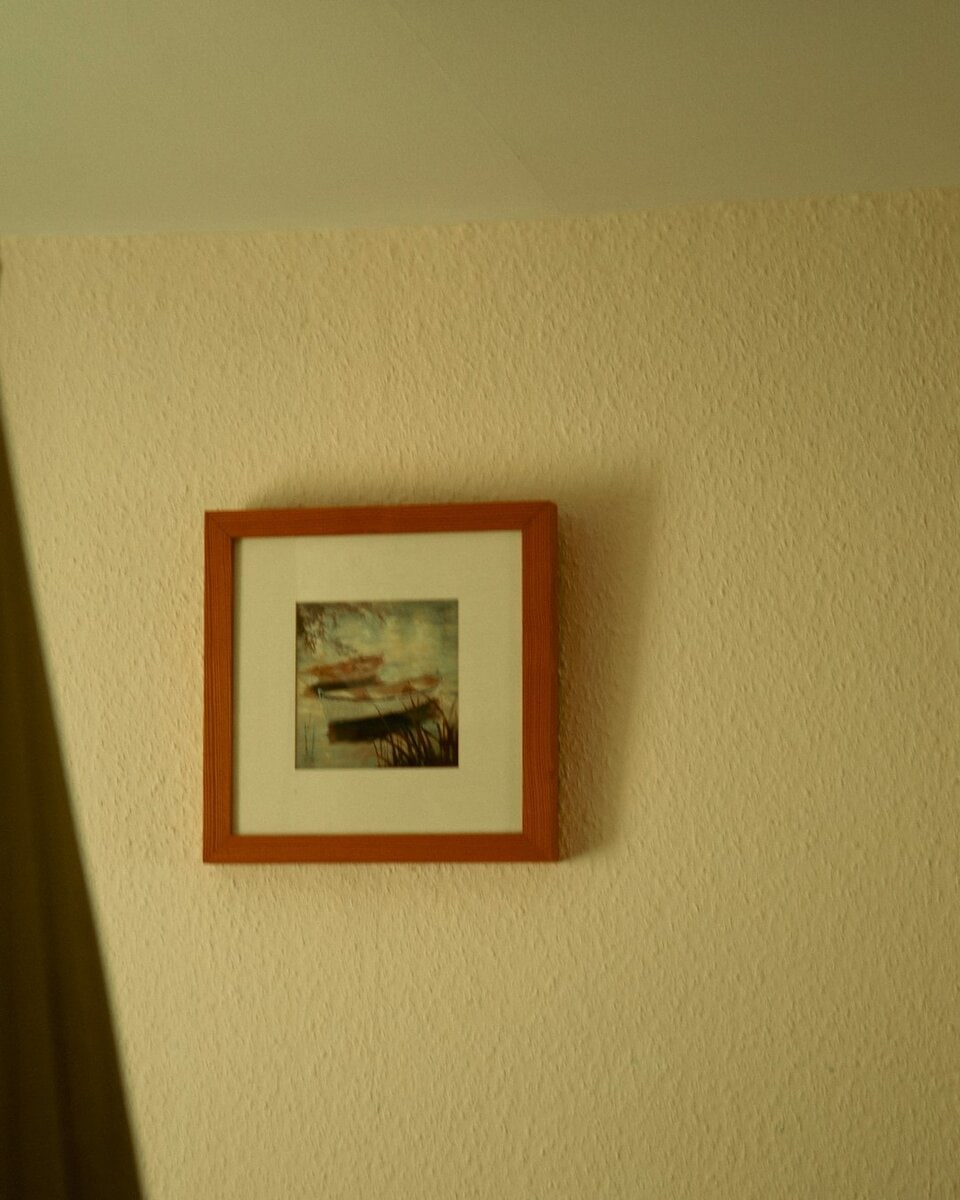
5. Let the Photo Dry and Store It Carefully
After printing, allow the picture to dry for several minutes, especially if using glossy or specialty papers. Handle the edges to avoid fingerprints or smudging the ink. Once dry, photos can be framed, laminated, or stored in albums for safekeeping.

Frequently Asked Questions (FAQ)
-
Q: What resolution is needed to print a photo clearly?
A: A resolution of at least 300 DPI is recommended for high-quality prints. -
Q: Can I print photos using a regular office printer?
A: While you can use an office printer, an inkjet photo printer will deliver much better results. -
Q: What is the best paper type for printing photos?
A: Glossy paper is good for vibrant colors, matte for a classic look, and luster offers a balance of both. -
Q: Why do my printed photos look darker than they do on screen?
A: Computer monitors are backlit, making images appear brighter. Calibrate your monitor and adjust brightness levels during editing. -
Q: Is it necessary to use the printer manufacturer’s ink?
A: It’s recommended. Generic inks may not produce the same color fidelity and can lead to inconsistent results.