
If your MacBook Pro has black lines at the bottom of the screen, the problem can come from two places. It may be a software or display setting glitch, or it may be a hardware fault in the screen assembly. Apple’s own troubleshooting tools can help you narrow that down before you pay for a repair.
What does it indicate when a MacBook Pro displays black lines at the bottom of the screen?
Black lines near the bottom of a MacBook Pro display usually mean the image on the built-in screen is not being shown correctly. If the issue stays in the same spot after a restart, shows up early in startup, or keeps getting worse, that points more toward a screen-side fault than a small app glitch. Apple also notes that Apple Diagnostics can help identify hardware trouble, which makes it useful when the display symptom looks persistent.
Still, not every screen problem means the LCD panel is dead. Apple provides Safe Mode, display settings, and external display testing because some visual problems can come from startup software, display settings, or graphics behavior instead of the panel itself.
What causes black lines at the bottom of a MacBook Pro screen?
Black lines at the bottom of a MacBook Pro screen can come from hardware damage or from a smaller software issue.
Common causes include:
- A damaged LCD or display panel
- Internal display cable or hinge-related wear
- Screen pressure after closing the lid on a small object
- Drop or impact damage
- Liquid damage inside the display assembly
- A temporary macOS or startup software glitch
- A display settings or resolution issue
- A less common hardware issue that Apple Diagnostics may detect
How to tell if the issue is hardware or software
Before you assume the screen needs replacement, test the MacBook Pro in a few simple ways. The goal is to determine whether the problem is limited to the built-in display or extends to the entire video output path. Apple supports Safe Mode, Apple Diagnostics, and external display connections for this kind of troubleshooting.
1. Restart your MacBook Pro
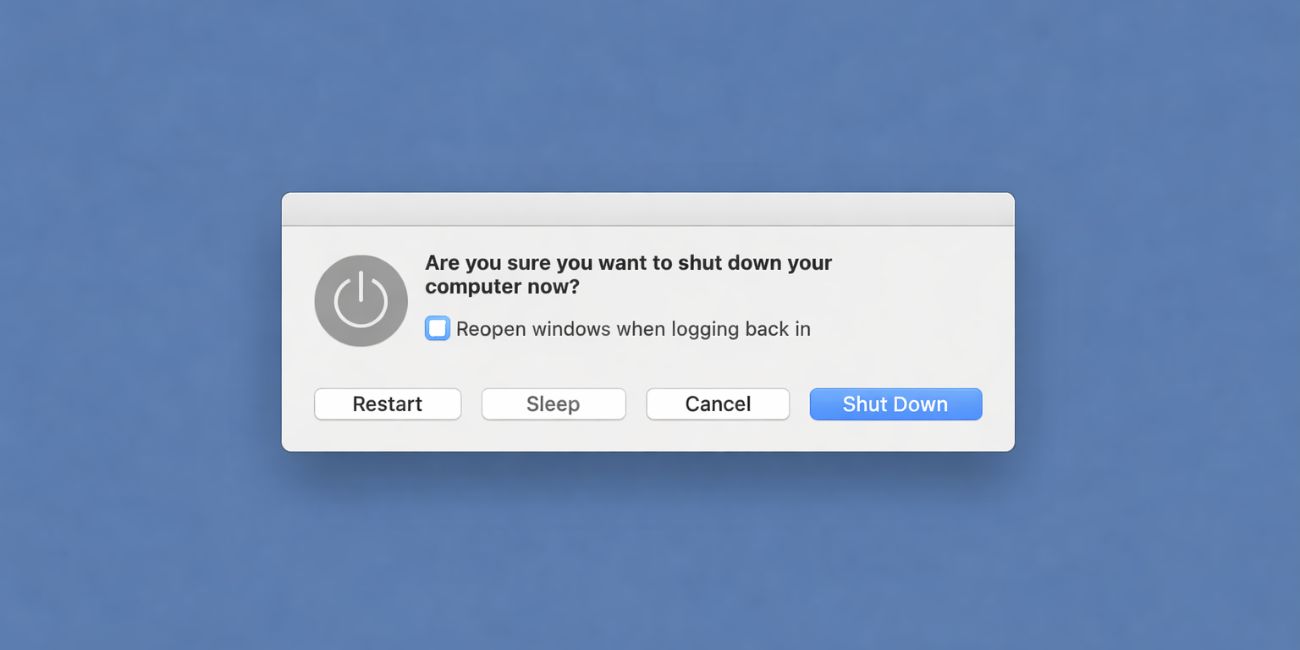
Start with a plain restart. A restart can clear a short-term graphics or startup glitch. If the black lines return to the exact same area right away, the issue is more likely hardware than a one-time software hiccup. Apple recommends restarting as part of basic Mac troubleshooting and also notes that Apple silicon Macs do not need separate SMC resets in the way older Intel Macs sometimes did.
2. Check whether the lines appear before login
Watch the screen during startup. If the black lines appear before you log in, the issue is less likely to be tied to a single app.
That does not prove the panel is damaged, but it does make a display or deeper system issue more likely than a problem inside one program.
Apple’s startup and diagnostics tools are useful here because they work outside your normal desktop session.
3. Test with an external monitor
This is one of the best checks. Apple says MacBook Pro supports external displays over HDMI or Thunderbolt, so you can connect one and compare the picture. If the external monitor looks normal while the MacBook Pro screen still shows black lines at the bottom, the built-in display assembly is more likely to be the fault.
If both screens show similar problems, the issue may be more system-wide. That second part is a practical inference, not a direct Apple diagnosis.
4. Boot into Safe Mode
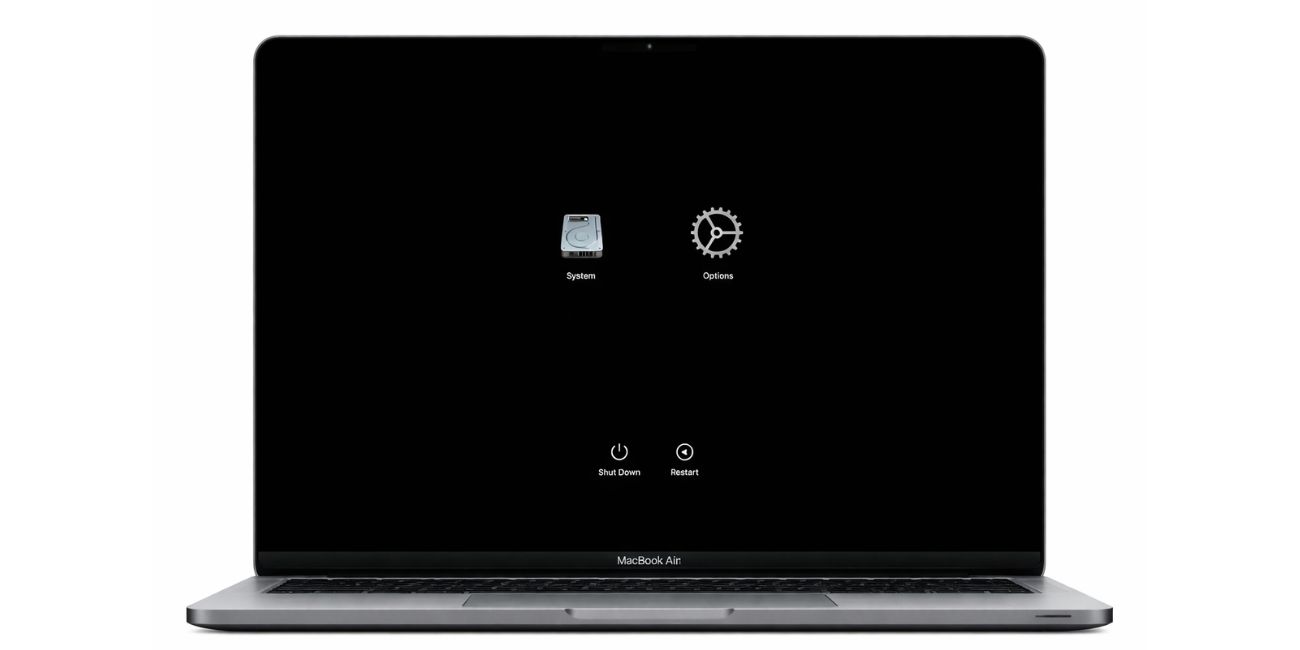
Apple says Safe Mode helps identify whether problems are caused by software that loads as your Mac starts up. If the black lines disappear in Safe Mode, that suggests software may be involved. If they stay exactly the same, hardware becomes more likely.
To test Safe Mode:
- Shut down the MacBook Pro
- Start in Safe Mode using the Apple silicon or Intel steps for your model
- Check whether the black lines still appear
- Restart normally after the test
5. Run Apple Diagnostics
Apple says Apple Diagnostics can help determine which hardware component might be at fault. It is not perfect for every display issue, but it is one of the most direct official checks you can run before service.
If Apple Diagnostics reports hardware trouble, stop guessing and plan for repair. If it finds nothing, the screen can still be faulty, but at least you rule out some other internal issues.
How to fix MacBook Pro black lines at the bottom of the screen
If the lines are new or minor, try the fixes below before assuming the display must be replaced.
1. Update macOS
Apple recommends installing the latest macOS updates before running deeper diagnostics. That matters because some display behavior can come from system software, graphics handling, or startup components. If your MacBook Pro is behind on updates, install the latest version first and then test the screen again.
2. Check display settings and resolution
Apple’s display settings let you adjust resolution and related options. A wrong display setting will not usually create true black damage lines, but it can make visual problems look worse or make you think the screen is failing when the issue is partly settings-related.
Open Displays settings and switch back to the default resolution for the built-in display. Then check whether the bottom of the screen looks any different.
3. Reset NVRAM if you use an Intel Mac
Apple says resetting NVRAM is an Intel Mac step. Apple silicon Macs handle this differently and generally do not use the same manual NVRAM reset path for normal troubleshooting. So this fix is mainly for older Intel-based MacBook Pro models.
If you have an Intel MacBook Pro and the problem seems tied to startup display behavior, this step is worth trying once. If you have Apple silicon, skip it and move on.
4. Remove any source of screen pressure
If you use a thick keyboard cover, a webcam cover, or you often close the lid with dust, paper, or a cable on the palm rest area, stop doing that now. Apple’s display support guidance stresses proper display care and setup, and physical pressure is a common real-world cause of bottom-screen damage patterns even when the glass is not obviously cracked. The pressure point can damage the panel slowly.
Use the MacBook Pro gently for now. Do not press on the lower part of the display. Do not keep it in a tight bag with pressure against the lid.
5. Back up your MacBook before the display gets worse
If the black lines are spreading, back up your data early. Apple’s recovery and service guidance makes it clear that hardware issues sometimes lead to larger repairs, and you do not want to wait until the screen becomes hard to read. A Time Machine or external backup is a smart move before any service visit.
Read Also: How to Fix Orange Discoloration on MacBook Pro Screen
6. Get the screen checked if the lines stay or spread
If the lines remain after restart, Safe Mode, updates, and a display settings check, the next step is service. Apple says you can contact support, set up a repair, or book service through Apple Support. Apple Diagnostics is also part of that path when hardware is suspected.
In plain terms, persistent black lines usually mean you need a technician to inspect the display assembly, internal cable path, or related hardware. If the external monitor looks fine and only the MacBook Pro screen has the problem, that makes a display-side repair even more likely. The last sentence is a practical inference based on the external display test, not a direct Apple claim.
When do black lines usually mean the screen needs repair?
Repair becomes much more likely when the black lines keep growing, show up before login, do not change after a macOS update, and stay visible in Safe Mode. Apple’s official tools support that kind of process: update, test in Safe Mode, run diagnostics, then move to service if the issue remains.
The same goes if the lines only affect the built-in display while an external monitor looks normal. That strongly suggests the panel or display path inside the laptop needs attention. That conclusion is a troubleshooting inference, but it is a useful one.
How to stop the issue from getting worse
If your MacBook Pro already shows black lines at the bottom of the screen, careful handling can help prevent more damage.
- Do not close the lid on paper, cables, or small objects
- Avoid pressing on the display
- Remove thick keyboard covers or hard webcam covers
- Carry the MacBook Pro in a padded sleeve
- Open and close the lid gently
- Back up your files now, not later
These steps are practical protection advice. Apple’s display and support resources back the general idea of careful handling and getting service when a hardware issue is suspected.
Wrap-up
MacBook Pro black lines at the bottom of the screen can come from either software or hardware, but persistent lines usually deserve testing right away. Restart the Mac, update macOS, try Safe Mode, connect an external monitor, and run Apple Diagnostics. If the problem stays, back up your files and set up service.