
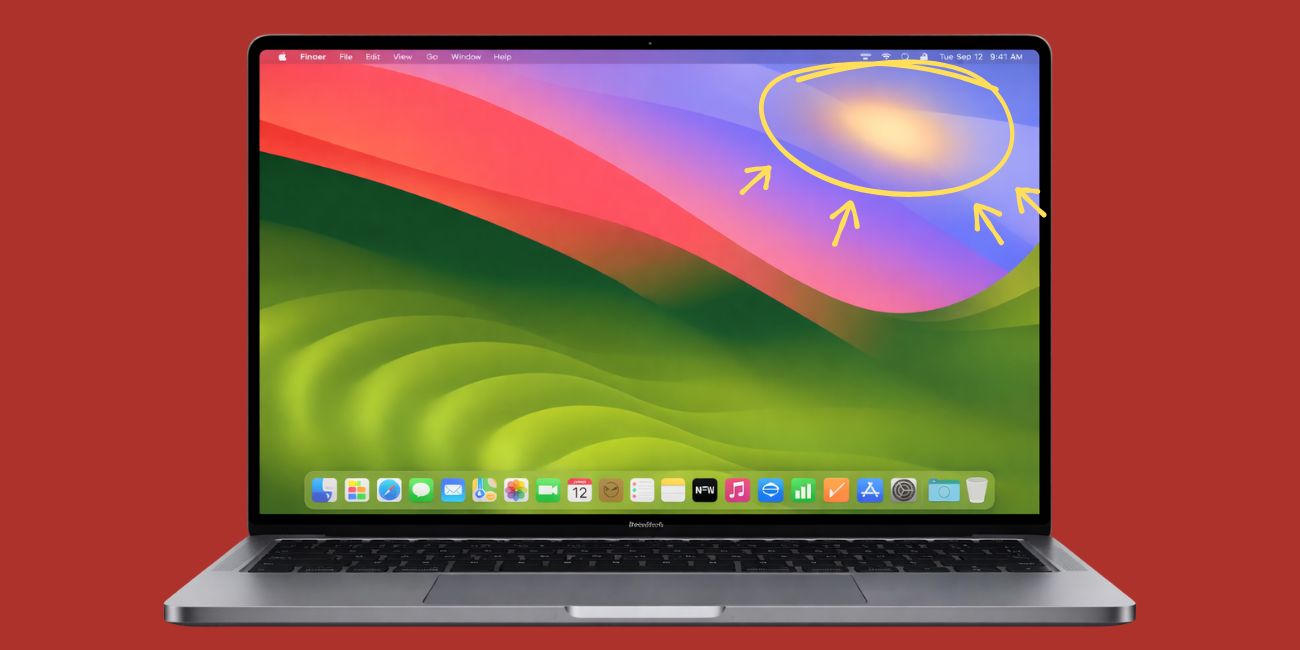
If your MacBook Pro screen has burn marks, yellow spots, shadow patches, or stained-looking areas, the problem can come from a few different things. It may be image retention, pressure damage, heat stress, screen coating wear, or damage inside the display panel. The mark may look small at first. Then it stays there. Or gets worse. That is why it helps to test it early.
This guide explains what MacBook Pro screen burn marks usually mean, what causes them, how to tell if the issue is software or hardware, and what you can do next.
What do MacBook Pro screen burn marks mean?
MacBook Pro screen burn marks do not always mean true burn-in. A lot of people use the word burn marks for any screen discoloration. That can include yellow patches, dark shadows, cloudy spots, ghost images, pressure marks, and worn screen coating.
Sometimes the issue is only temporary image retention. In other cases, the MacBook Pro display has physical damage in the LCD panel, the backlight area, or the anti-reflective coating. So the first step is not to guess. It is to check what kind of mark you are seeing and whether it changes.
What causes MacBook Pro screen burn marks?
MacBook Pro screen burn marks can come from either hardware damage or a less serious display behavior issue.
Common causes include:
- Pressure damage on the display panel
- Heat exposure or internal heat stress
- LCD or backlight damage
- Worn anti-reflective screen coating
- Temporary image retention or ghosting
- Liquid damage inside the display
- Aging screen panel
- Less common internal hardware defects
How to tell if the screen marks are hardware or software
Before you assume the screen needs replacement, test whether the marks come from the physical display or from temporary display behavior. This part matters because software-like symptoms and hardware damage can look similar for a while.
1. Restart your MacBook Pro
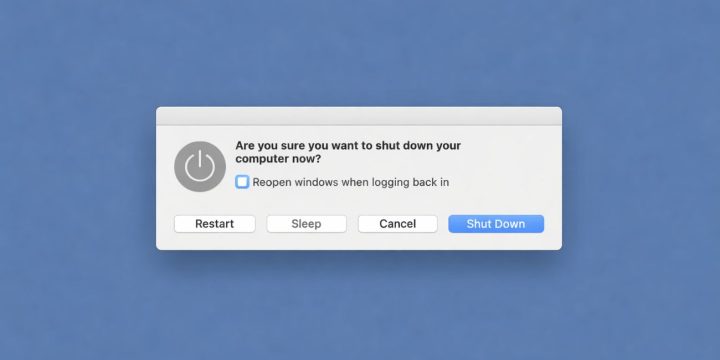
Start with a normal restart. A restart can clear a temporary graphics glitch or display behavior issue. If the mark stays in the exact same place after reboot, the problem is more likely tied to the screen itself.
This is a quick check, but it helps set the direction. If nothing changes at all, that is useful information.
2. Check the screen on a plain white or gray background
A plain background makes screen discoloration easier to see. Yellow spots, gray shadows, burn-like patches, and uneven tone stand out more clearly on white, light gray, or pale blue.
Open a blank page or full-screen white image and look carefully at the display. If the mark stays in one fixed area, that points more toward display panel damage, coating wear, or pressure damage than a random software issue.
3. Take a screenshot and compare it
This is one of the best tests. If the mark does not appear in the screenshot but stays visible on the MacBook Pro screen, the issue usually points to the physical display and not the image rendered by macOS.
You can take the screenshot, then open it on another device or send it to an external monitor. If the screenshot looks clean there, but the MacBook Pro still shows the stain or shadow, the screen is the likely problem.
That one test can save time because it helps separate a display defect from a graphics output issue.
4. Test with an external monitor

Connect your MacBook Pro to an external monitor or TV. Then compare both displays.
If the external monitor looks normal while the MacBook Pro screen still shows burn marks, yellow patches, or shadow spots, the internal display is the likely fault. That usually means the problem sits in the display panel, coating, or another screen-side part.
If both screens show the same strange image, then the issue may be more related to graphics handling or system-wide display behavior. That is less common for stain-like marks, but still worth checking.
5. See if the mark changes with brightness or screen content
Some image retention problems fade, shift, or become less visible when you change what is on the screen. Hardware damage usually does not behave like that.
So change brightness levels. Open dark and light windows. Switch between plain backgrounds. If the mark always stays in the same place and looks the same, that points more toward pressure damage, coating wear, or LCD damage. If it fades a little with different content, image retention becomes more possible.
6. Boot into Safe Mode
Safe Mode helps you test whether startup software or a temporary system issue is making the screen look worse than it really is.
You can try it like this:
- Shut down the MacBook Pro
- Start it in Safe Mode
- Check whether the screen marks still appear
- Restart normally after testing
If the marks stay exactly the same in Safe Mode, hardware becomes more likely.
How to fix MacBook Pro screen burn marks
If the marks are light or newly visible, try the fixes below before assuming the display must be replaced. Some cases are only visual residue, color behavior, or early-stage image retention.
1. Clean the screen safely
Sometimes dirt, oil, residue, or damage on the screen coating can look like burn marks from a distance. That is why a safe cleaning check comes first.
Use a soft microfiber cloth. Wipe gently. Do not scrub hard. Do not use harsh household cleaners. If the mark is only surface residue, it may improve right away. If it stays exactly the same after careful cleaning, then it is more likely under the surface or inside the display layer.
This is simple, yes, but worth doing before anything else.
2. Update macOS
If the issue comes from display behavior, color handling, or a graphics bug, a macOS update may help. It will not repair a physically damaged LCD panel, but it can rule out software-side display problems.
Go to Software Update and install any pending macOS updates. Then restart the MacBook Pro and test the screen again. This fix is most useful when the discoloration appeared after a system change, a graphics issue, or odd display behavior.
3. Check display settings like True Tone and Night Shift
True Tone and Night Shift can make the screen look warmer. That does not usually cause real burn marks, but it can make yellowing or uneven display tone easier to notice.
Turn those settings off for a quick test. Then compare the screen again on a white background. If the yellow tint drops a little, part of what you noticed may be display temperature and not real damage. If the patch still sits in the same area, the mark is likely physical.
4. Reduce heat and pressure on the screen
Heat and pressure can make a damaged screen worse. If your MacBook Pro runs hot often, stays in a tight bag, or has pressure on the lid, stop that first.
Do not leave heavy items on top of the laptop. Do not close the lid with paper, cables, or debris inside. Remove thick keyboard covers or hard webcam covers if you use them. Those small things can create pressure points on the display panel over time.
Also let the MacBook cool properly during heavy work. Heat stress may not be the only cause, but it can make display issues more visible.
5. Back up your MacBook before the display gets worse
If the marks are spreading, darkening, or becoming harder to ignore, back up your files now. Not later.
Use Time Machine, an external drive, or cloud storage. A MacBook Pro with screen burn marks may still work for a long time, but some display issues do get worse. Once the screen becomes too hard to read, even simple tasks feel much harder.
This step does not fix the display. Still, it protects your data, and that matters just as much.
6. Get the screen checked if the marks stay visible or spread
If the marks remain after cleaning, restarting, testing Safe Mode, checking display settings, and comparing with an external monitor, the next step is repair.
Persistent burn marks, yellow spots, coating damage, and shadow patches usually need hardware inspection. An Apple Store, Apple Support, or an authorized service provider can inspect the display assembly and tell you whether the problem is the panel, coating, backlight area, or another screen component.
In many cases, the real fix is screen repair or full display replacement. That is more likely when the mark stays visible on every background and never changes position.
When MacBook Pro screen burn marks usually mean you need repair
Repair becomes much more likely when the marks stay visible on all backgrounds, show up before login, do not appear in screenshots, or keep getting worse over time. Those signs usually point away from software and toward display hardware.
It also becomes more serious when you can see coating wear, liquid signs, pressure damage, or dark spots that grow. If the external monitor looks normal but the MacBook Pro screen still has stains or shadow marks, that is another strong clue that the internal display needs service.
At that point, trying random fixes usually wastes time. A repair check makes more sense.
How to stop the issue from getting worse
If your MacBook Pro already has screen burn marks, careful handling may stop the display from getting worse as fast.
- Do not close the lid on paper, cables, or small objects
- Avoid pressing on the screen
- Remove thick keyboard covers or hard webcam covers
- Keep the MacBook Pro cool during use
- Carry it in a padded sleeve
- Back up your files as soon as possible
These steps will not undo existing panel damage, but they may help prevent extra pressure, heat, or wear.
Wrap-up
MacBook Pro screen burn marks can mean several different things. The mark may come from image retention, pressure damage, coating wear, heat exposure, or deeper LCD problems. That is why testing matters first.
Restart the MacBook Pro. Check a plain background. Take a screenshot. Try an external monitor. Test Safe Mode. If the marks stay fixed and visible, the problem is usually hardware and may need screen repair.
If this guide helped, share it with someone else dealing with MacBook Pro display discoloration. You can also leave a comment with the test or fix that helped you most.